Our Story
Lonely Planet began in 1973 with an epic overland journey from London to Australia, and the publication of Across Asia on the Cheap shortly after. Today, we're one of the world's leading travel media companies, and want to share our love for travel and the planet with the next generation of explorers.
Advertisement
That's why we created Lonely Planet Kids.
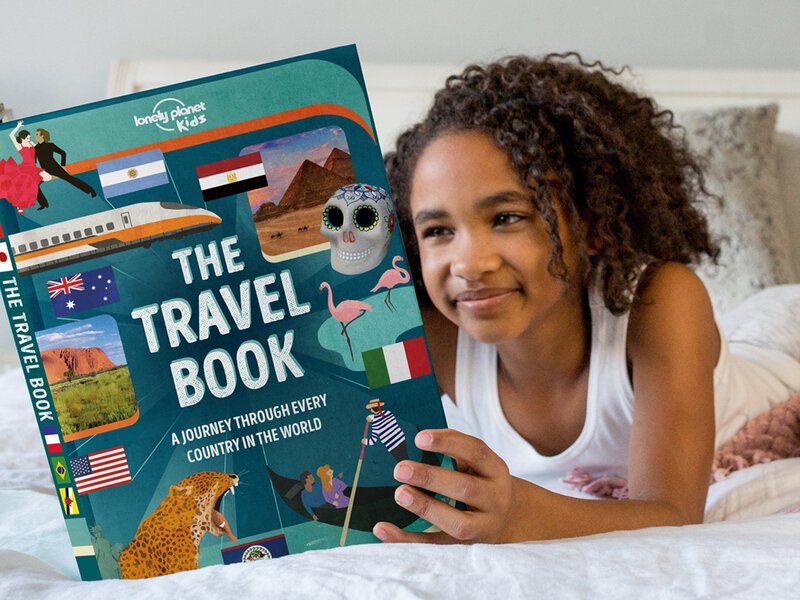
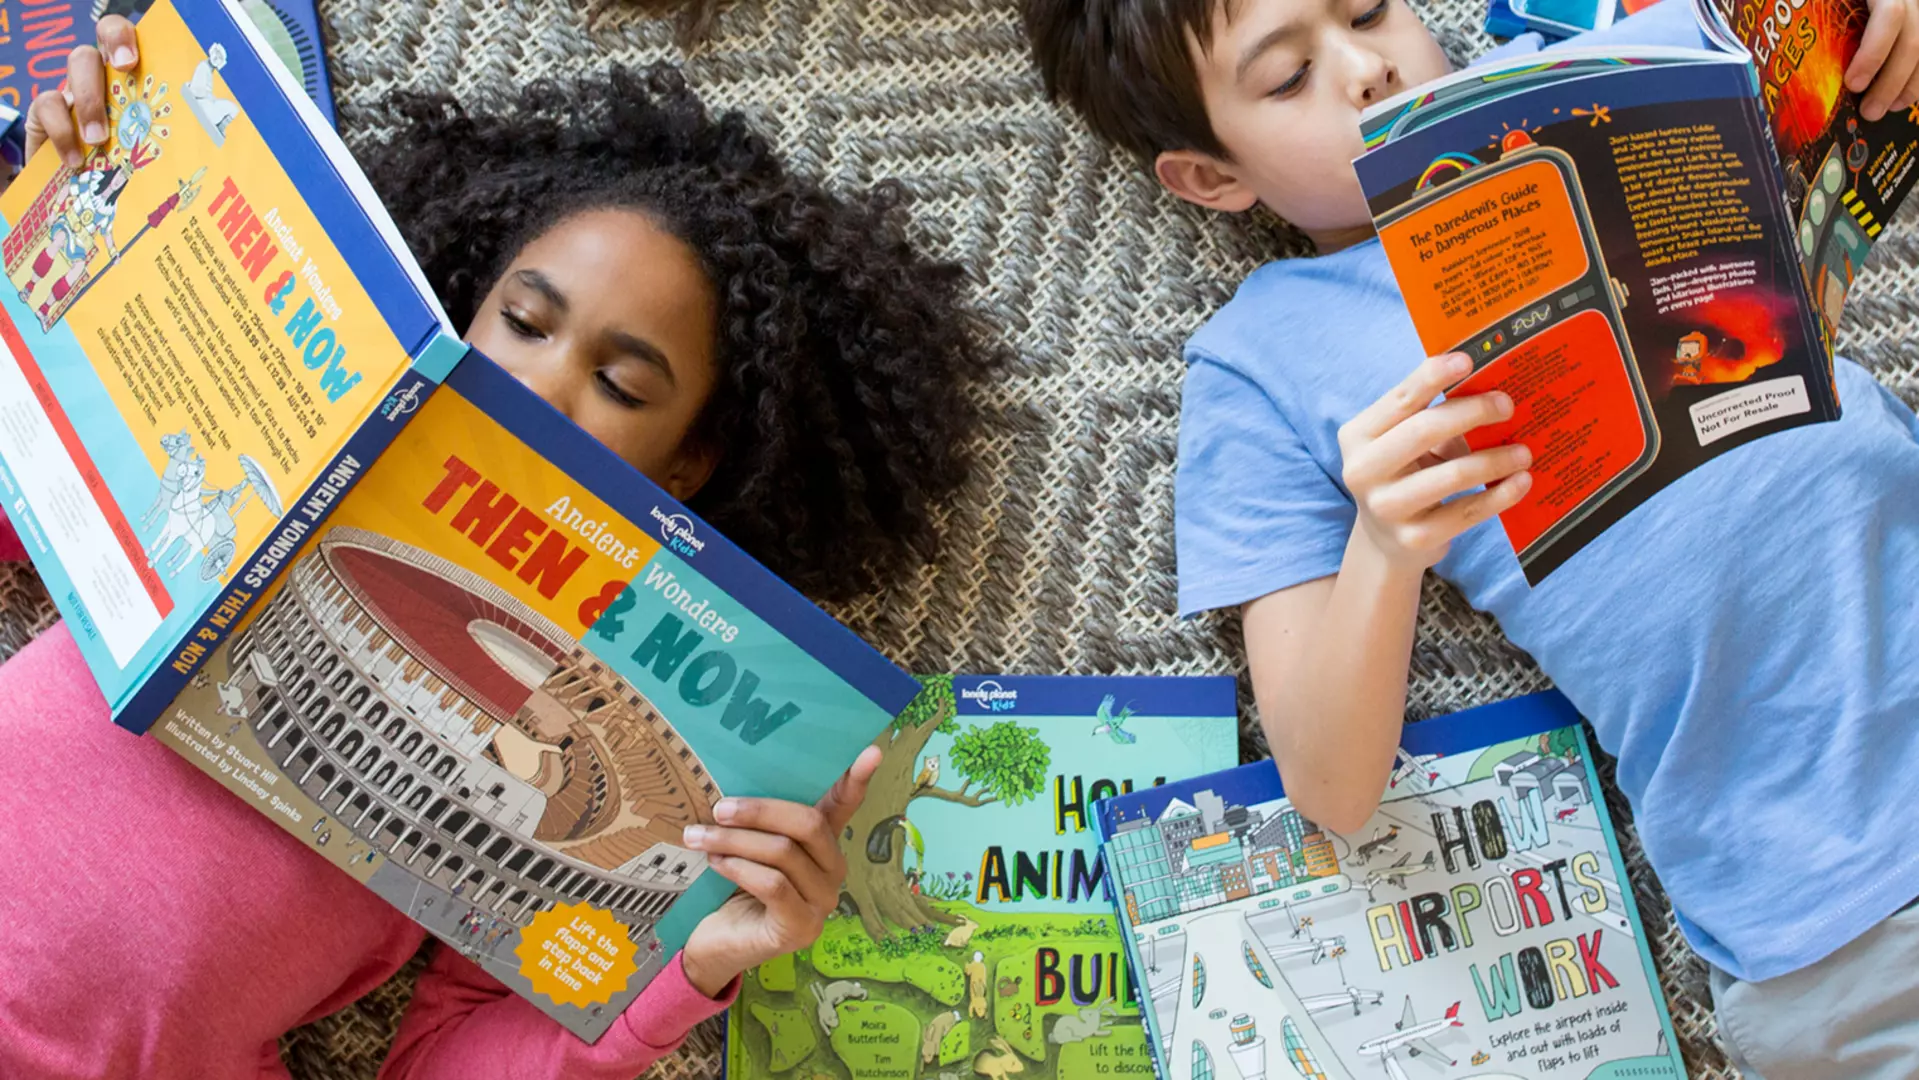
Our first release was The Travel Book in 2011. And since then, we've published books on everything from dinosaurs and space travel to secret city walks and woolly mammoths. Our mission is to inspire children and get them excited about the amazing world around them – to help make every day an adventure