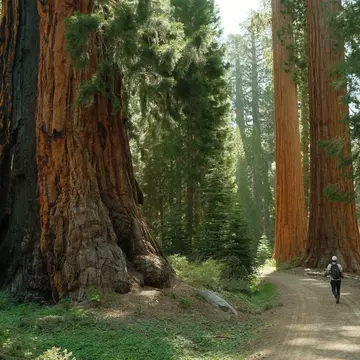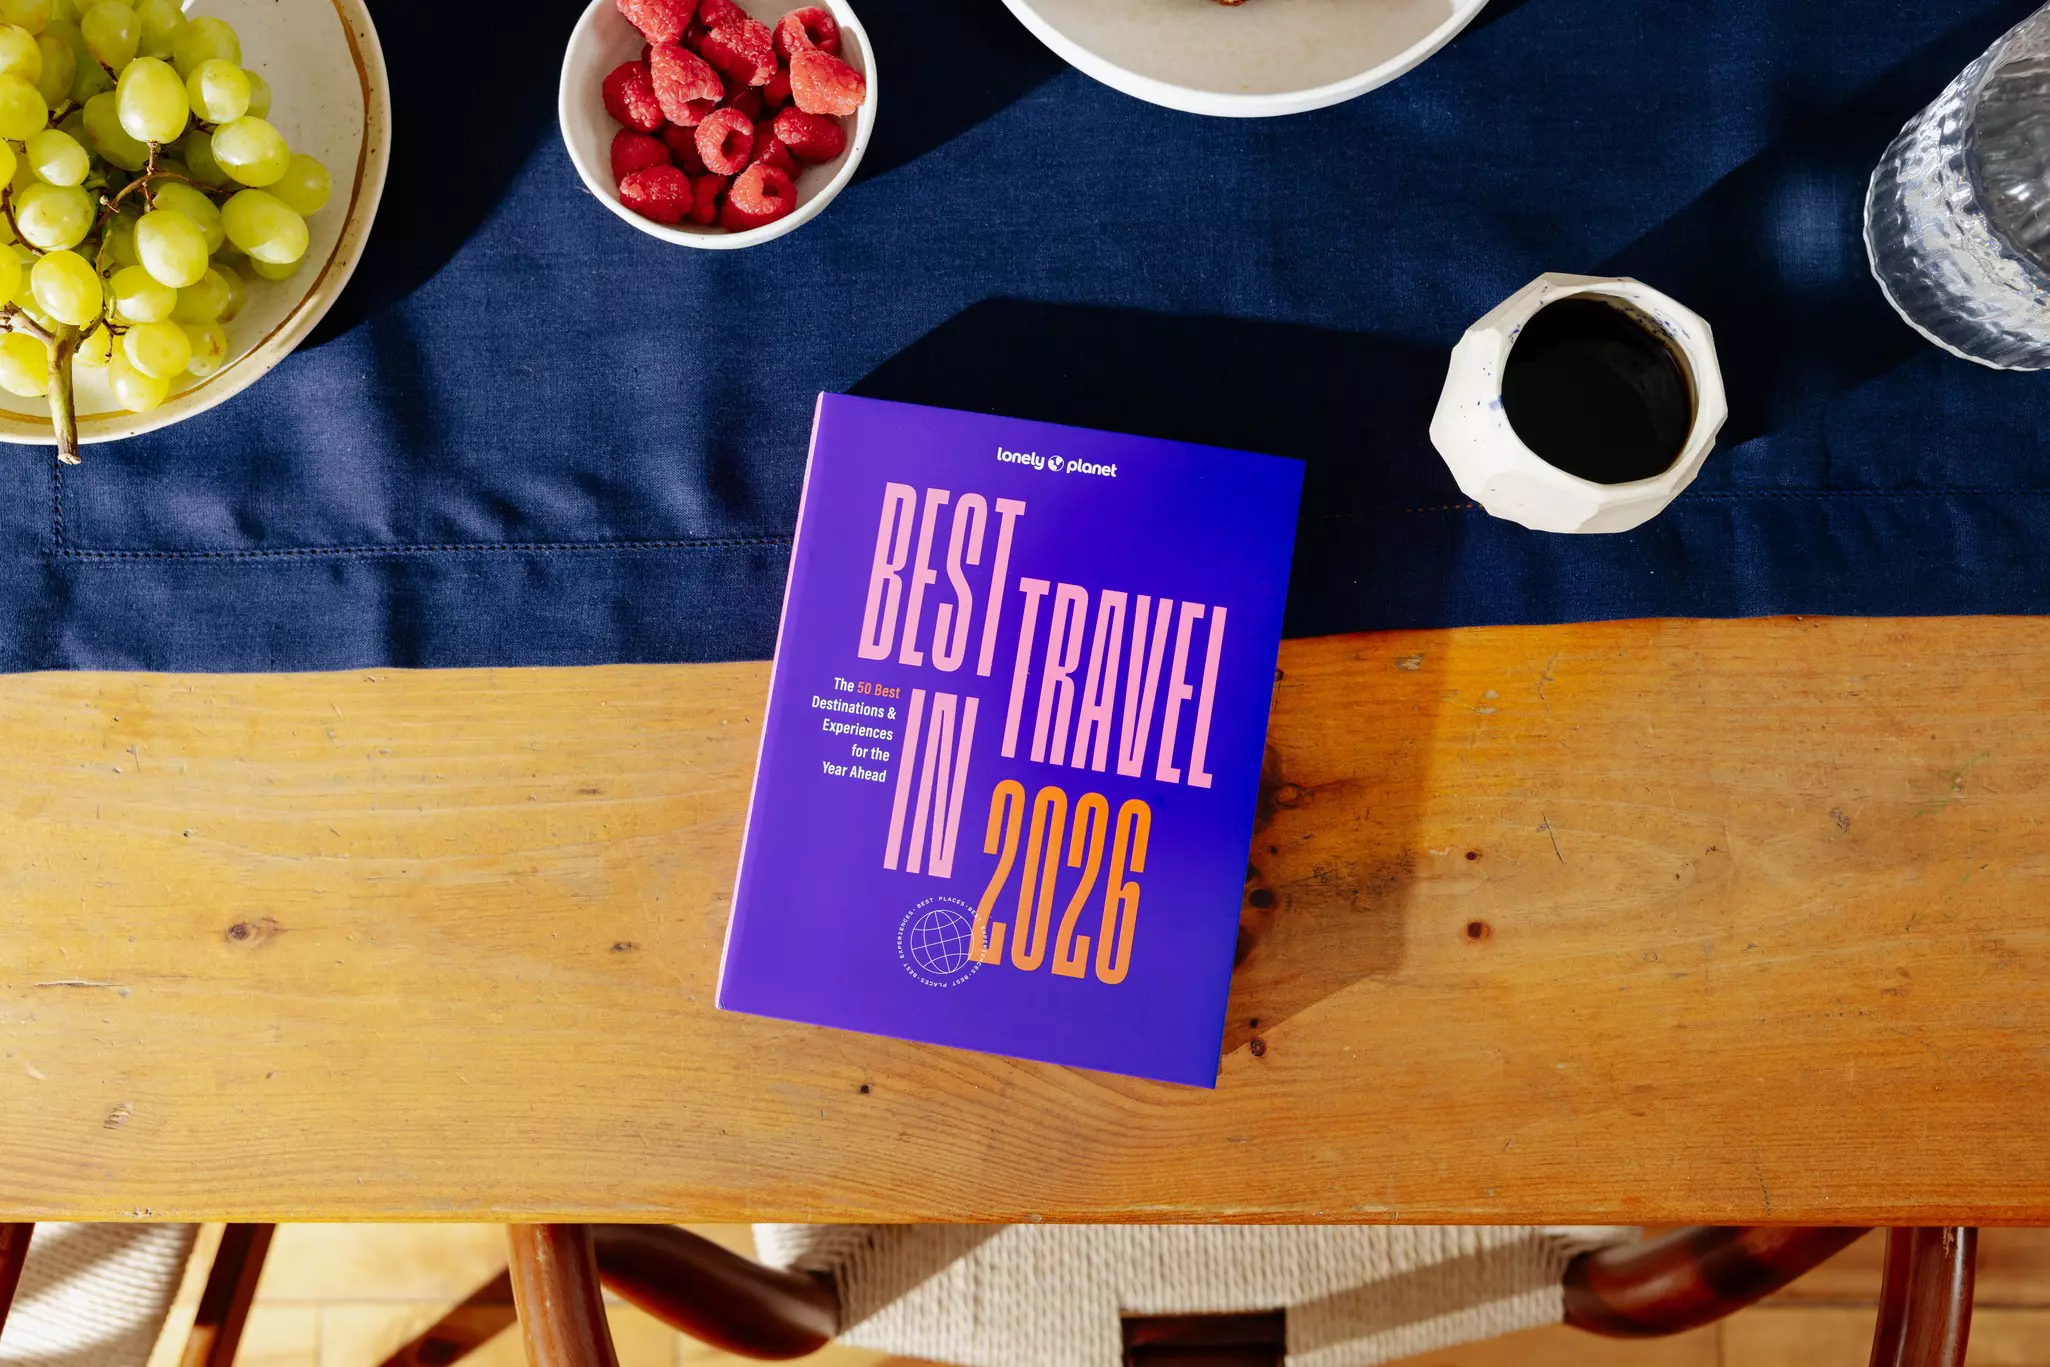
Best in Travel 2026
Lonely Planet's annual bestselling guide to travel returns with the 25 hottest must-visit destinations and 25 must-do experiences for 2026.
Shop now 
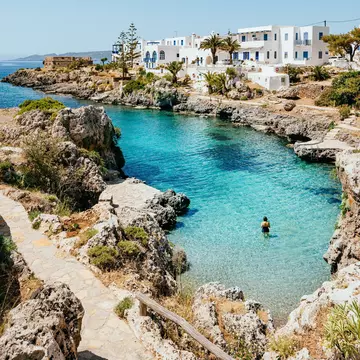
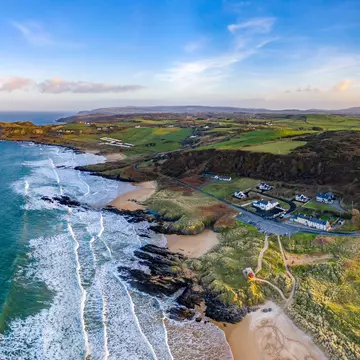
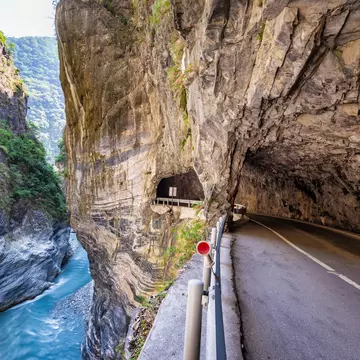
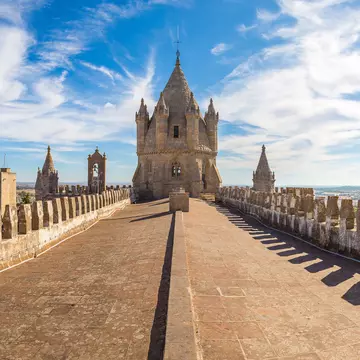
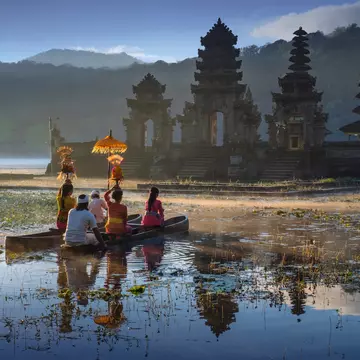
Dream Trips of the World
Tick off the biggest bucket list trips with this definitive guide to 100 of the world's greatest travel adventures.
Shop now Dream Trips of the World
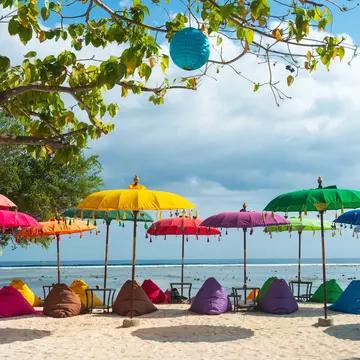
Tick off the biggest bucket list trips with this definitive guide to 100 of the world's greatest travel adventures.
Shop now 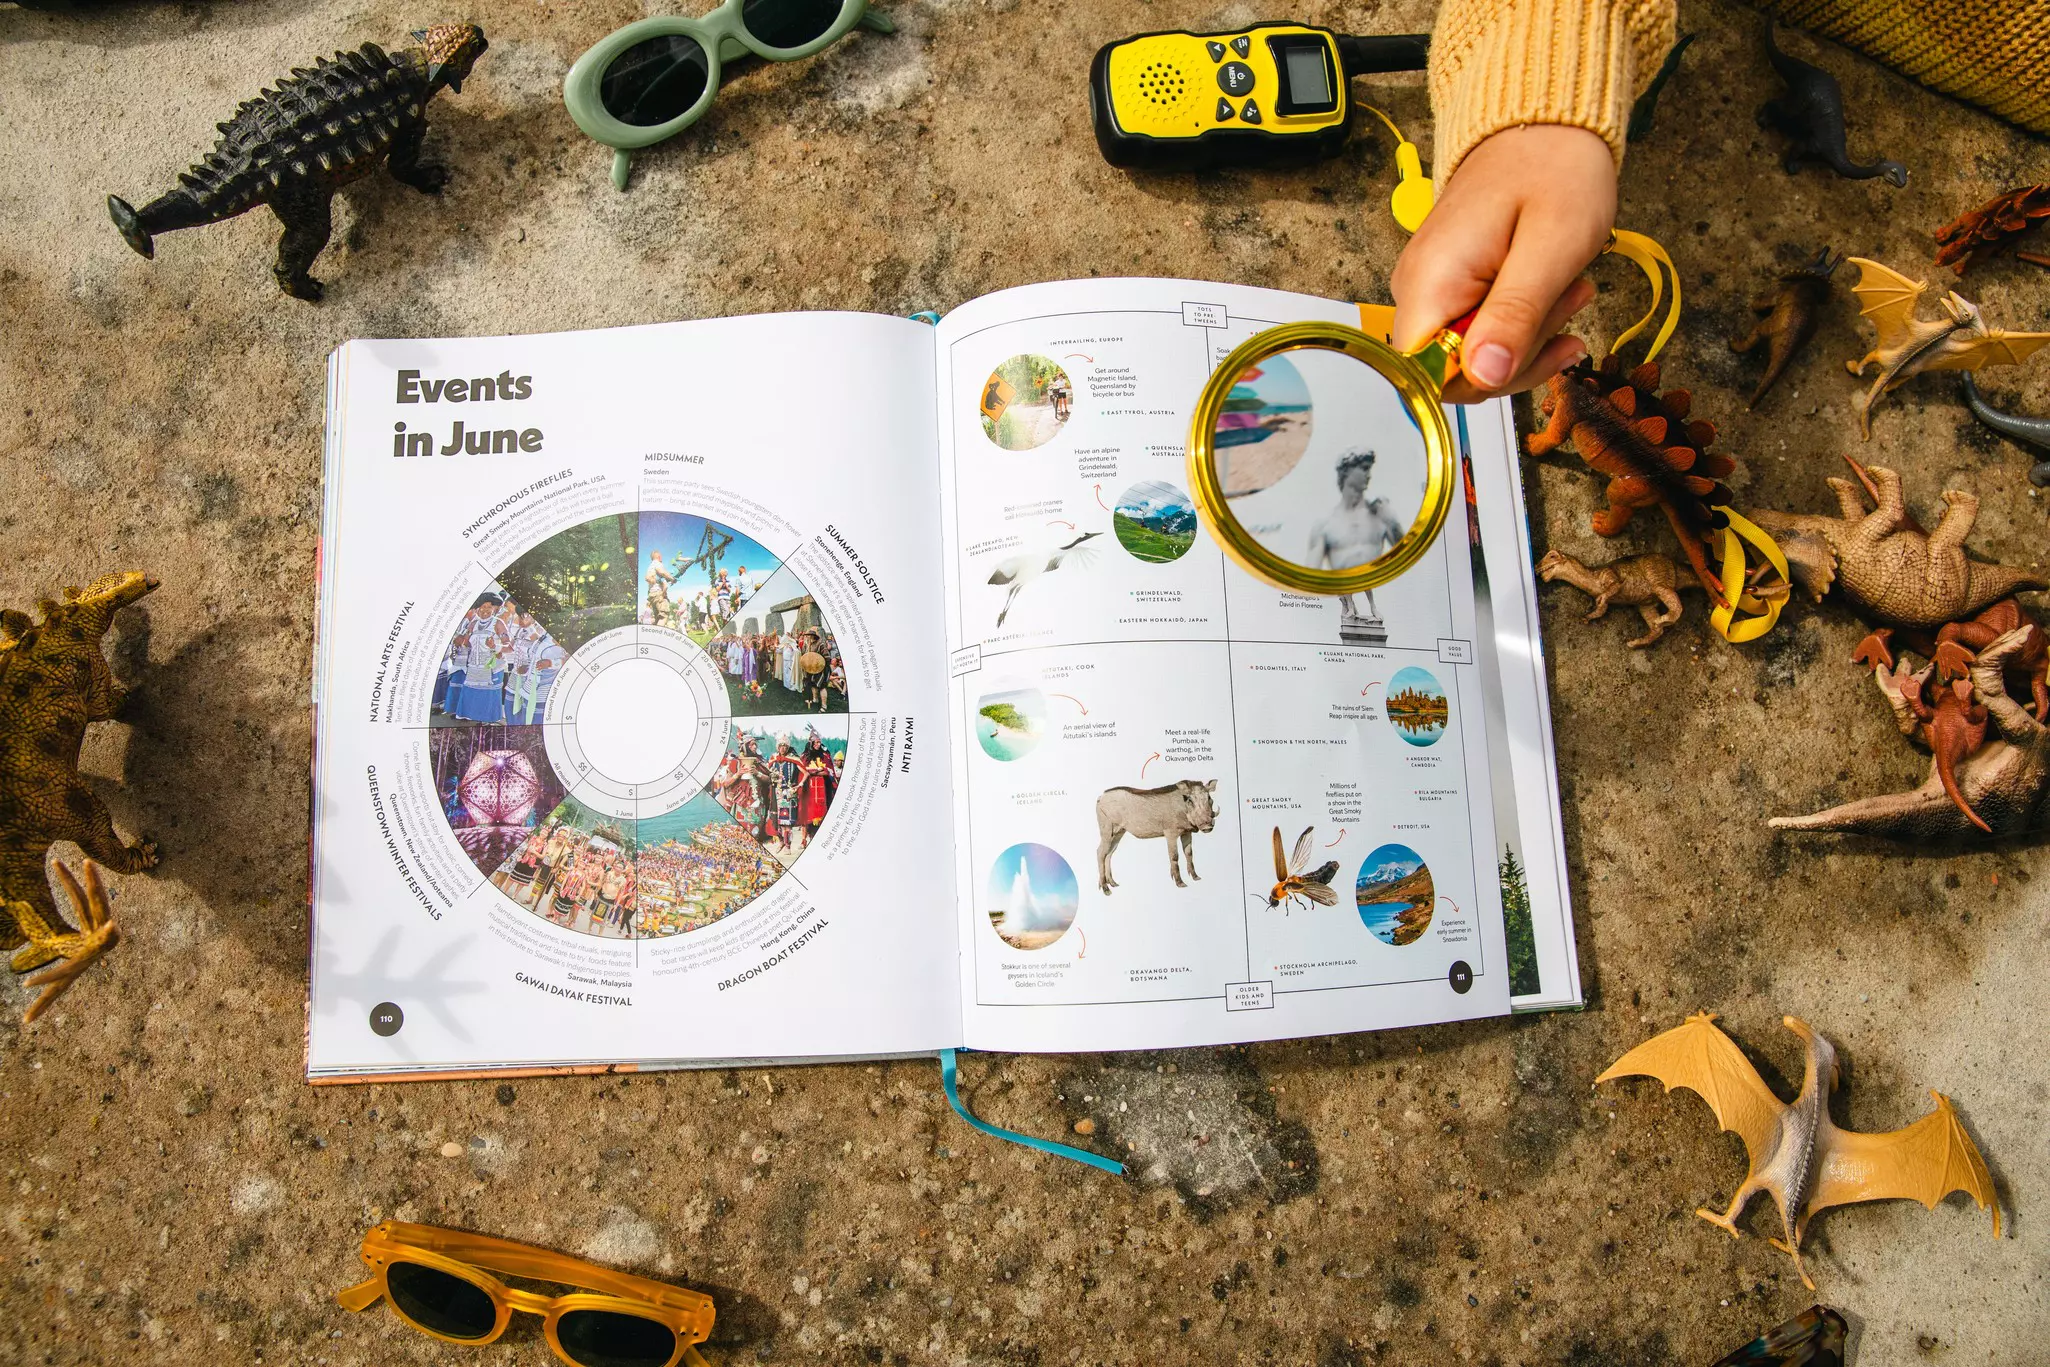
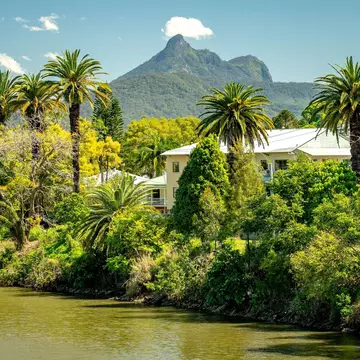
Where to Go When With Kids
From spotting throngs of penguins on South Africa's Boulders Beach to seeing Hong Kong's dazzling festoon of lights at the city's seasonal Winterfest, Where To Go When With Kids is the comprehensive trip planner of inspiring month-by-month adventures to spark your family's curiosity.
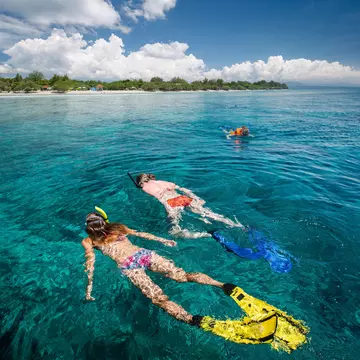
Shop now Dream Trips of the World
Tick off the biggest bucket list trips with this definitive guide to 100 of the world's greatest travel adventures.
Shop now 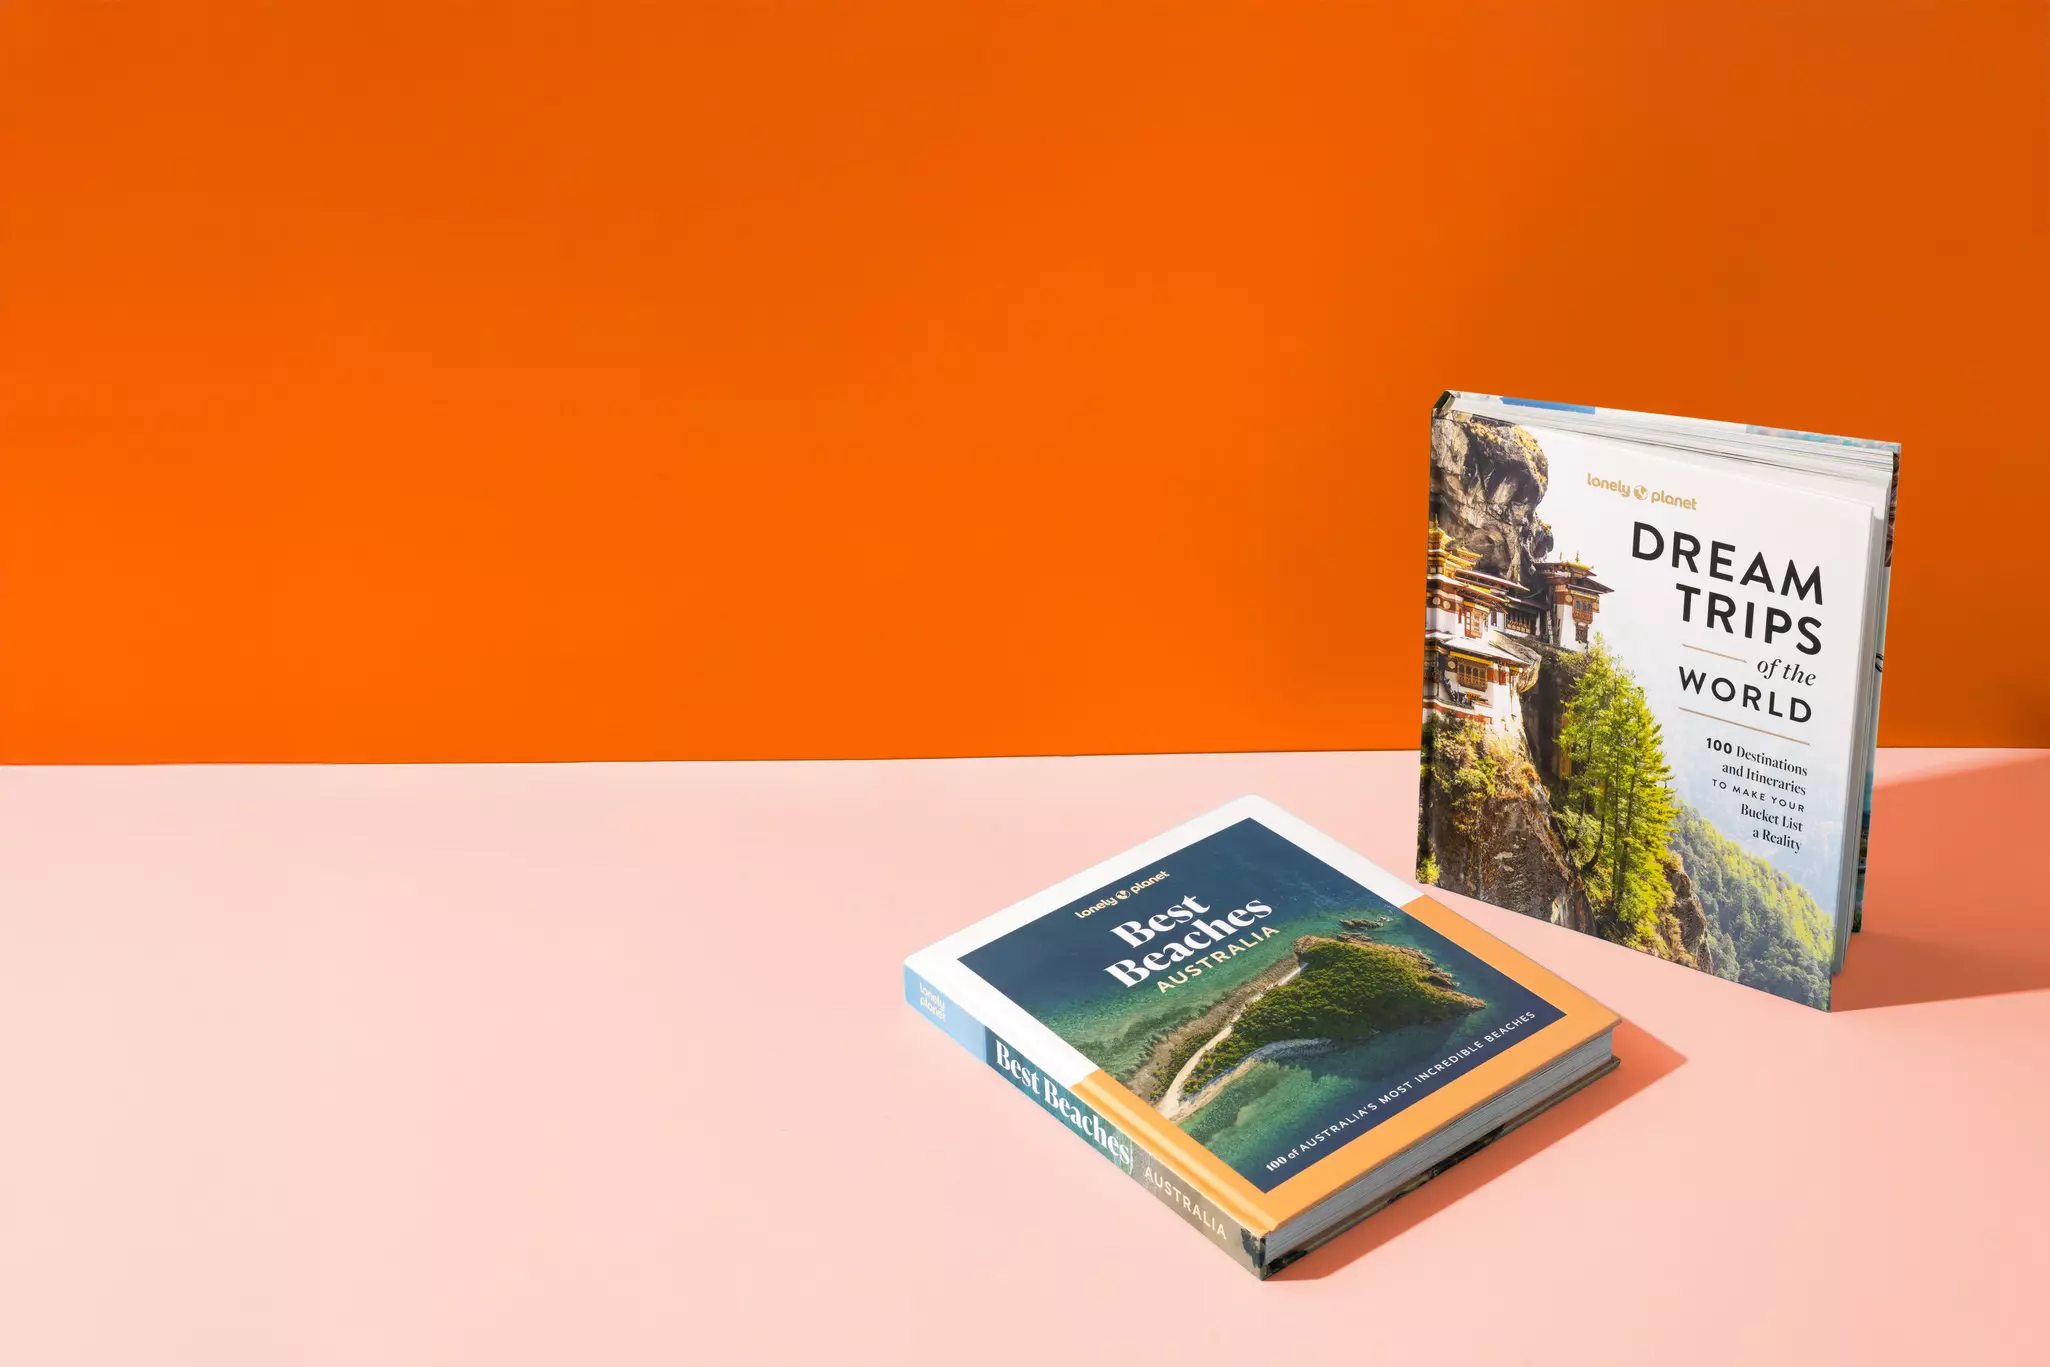
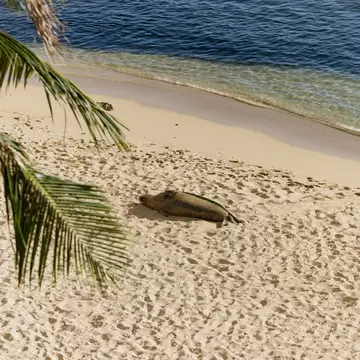
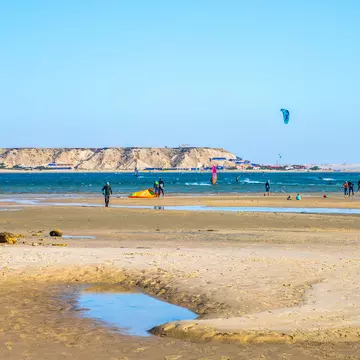
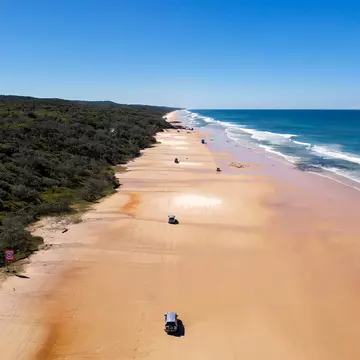
Best Beaches Australia
Explore 100 of Australia's most beautiful beaches in this stunning photographic guide with fascinating insights from local writers and adventurers.
Shop now Dream Trips of the World
Tick off the biggest bucket list trips with this definitive guide to 100 of the world's greatest travel adventures.
Shop now