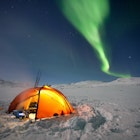
Seeing the northern lights can be one of the greatest thrills in nature. But capturing the elusive aurora borealis on camera can be a bit tricky, unless you you’re a skilled photographer. We asked expert Robert Annis to share some of the photography basics you should know before you set off on your aurora adventure.
The gear you need
Camera that works well in low-light situations: I use a Sony A7Riii as my primary camera body and a Sony A6500 camera as my backup. Shoot with a shutter-release cable, remote, or, my preferred method, a two-second shutter delay on your camera so you don’t get a blurry image.
Wide-angle lens with a large aperture: This allows you to capture as much light as possible. The lower the f-stop, the larger the aperture. In my case, I’m using a Tamron 17-28mm F2.8 lens.
Extra batteries: This is especially true if you’re shooting in freezing temperatures. Cold weather saps the charge out of batteries quickly. Keep one inside your camera bag or a warm room, with another in an inside pocket – the closer to your body, the better.

Stable tripod: Because you may be setting up in snow or otherwise challenging conditions, you’ll need a more stable, somewhat heavier tripod than your typical travel version. Mine is a Manfrotto ball head on a pair of heavy-duty, relatively ancient Amvona carbon-fiber tripod legs.
Headlamp with a red-light setting: The red light allows you to keep your night vision. If you’re shooting near other photographers, be sure to ask if anyone is in the middle of a shot before turning on your light.
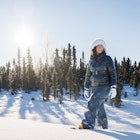
Warm clothes: You’ll be out in the elements for hours, possibly with little shelter. A heavy parka, thermal hat and gloves, snow pants, and boots will help keep you comfortable and able to focus – pun unintended – on taking amazing photos.
If you don’t have a DSLR or mirrorless camera, try using an app like the Northern Lights Photo Taker. If you have an iPhone 11, you might not even need the app, as the new camera works shockingly well.
You may also want to download an aurora-forecasting app, but don’t treat the predictions as gospel, as conditions change quickly – more on that later.
Planning your trip
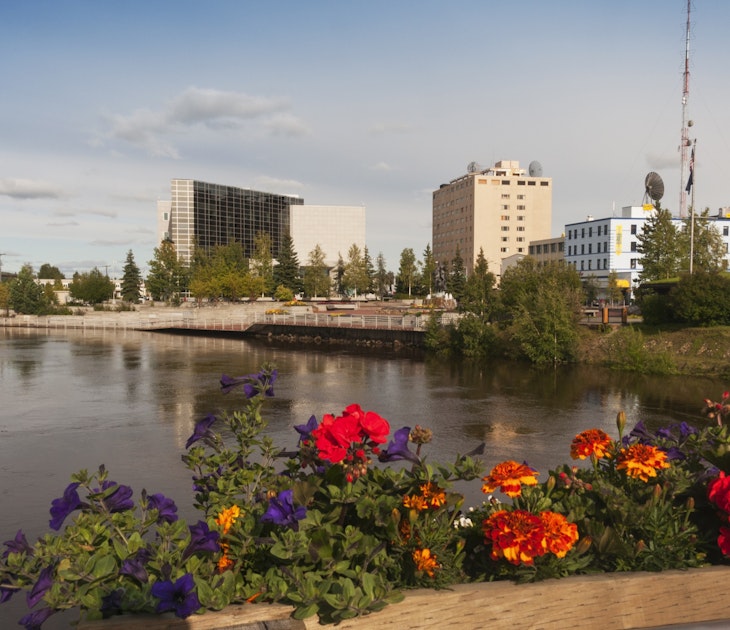
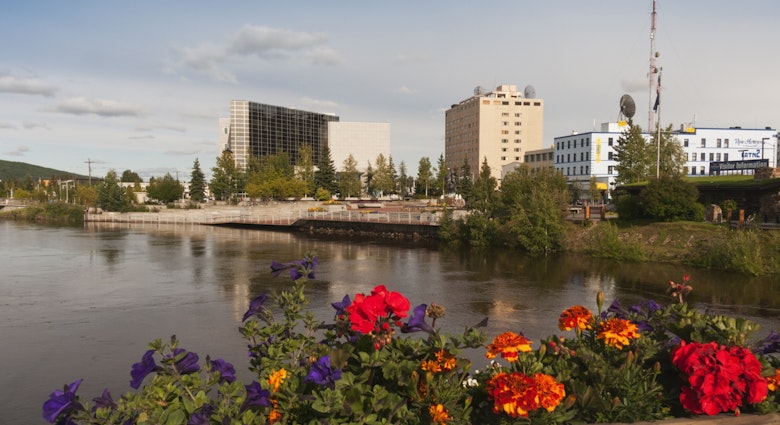
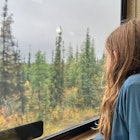
When planning a northern lights trip, timing and location will be key. Most importantly, you’ll want to earmark as many days as possible for the trip. On my most recent visit to Fairbanks, Alaska, I met a couple who had been chasing the northern lights for four nights, only to come up empty handed. (Luckily, they saw the aurora on the flight home!)
“Nature doesn’t work on anyone’s schedule,” said Eddy Savage, a guide for Natural Habitat Adventures who leads several northern lights photography trips in Churchill, Canada. “It doesn’t just show up when it’s convenient for you. You need to devote the time.”
Furthermore, photo guide Nicholas Wagner, based in Coldfoot, Alaska, suggests timing your trip with a half- or one-quarter moon, if possible, as the reduced moon will help light your foreground without overwhelming the aurora.
Picking a location within the so-called Aurora Oval gives you the best chance of seeing the lights, significantly more than someone many miles to the south. January through March is typically the best time to go; because it’s a dry, bitter cold, there are fewer clouds to interfere with viewing the aurora. But be sure to bundle up; temperatures routinely drop below -30°F (-34°C) that far north.
You’ll also need to decide whether to plan your aurora adventure alone or rely on an outfitter. If you’re new to an area or have a limited amount of time, a guide service is invaluable. Not only will they take care of logistics, but guides can also give hands-on instruction, helping you to get the most out of your time. If you decide to go solo, you’ll need to scout your own locations, preferably far away from light pollution from the nearest city.
What to do when you get there
Be prepared. The northern lights can briefly pop out for a minute or can last hours. Typically, they come in waves: first a small band that quickly fades, then a slightly stronger band that lasts a moment or two longer, and so on. If you’re lucky, one of the stronger bands will stick around for a while. To maximize your time, have the camera set up and attached to your tripod. Bonus points if you’ve already pre-framed your first image.
Set up your camera in a warm, well-lit spot before heading outside. I typically start out with a five-second shutter speed at F2.8 and 2000 ISO. If the aurora is bright and active, move the shutter speed down to two seconds or less so that you’re capturing more than just a green blur. If it’s not very bright, boost your shutter speed to 10 seconds or dial up your ISO. Depending on your camera model, you can go up to 6400 or 8000 ISO without adding significant grain.
It’s typically going to be too dark to use auto focus, so switch to manual focus, set at or near the infinity mark. Many modern cameras will allow you to magnify a spot in your frame to verify sharpness. Once your focus is dialed in, you may want to consider marking the spot with tape. If not, periodically double check your focus, making sure you haven’t accidentally moved it – it happens a lot, especially when it’s cold and your fingers aren’t working properly.
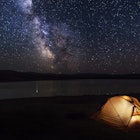
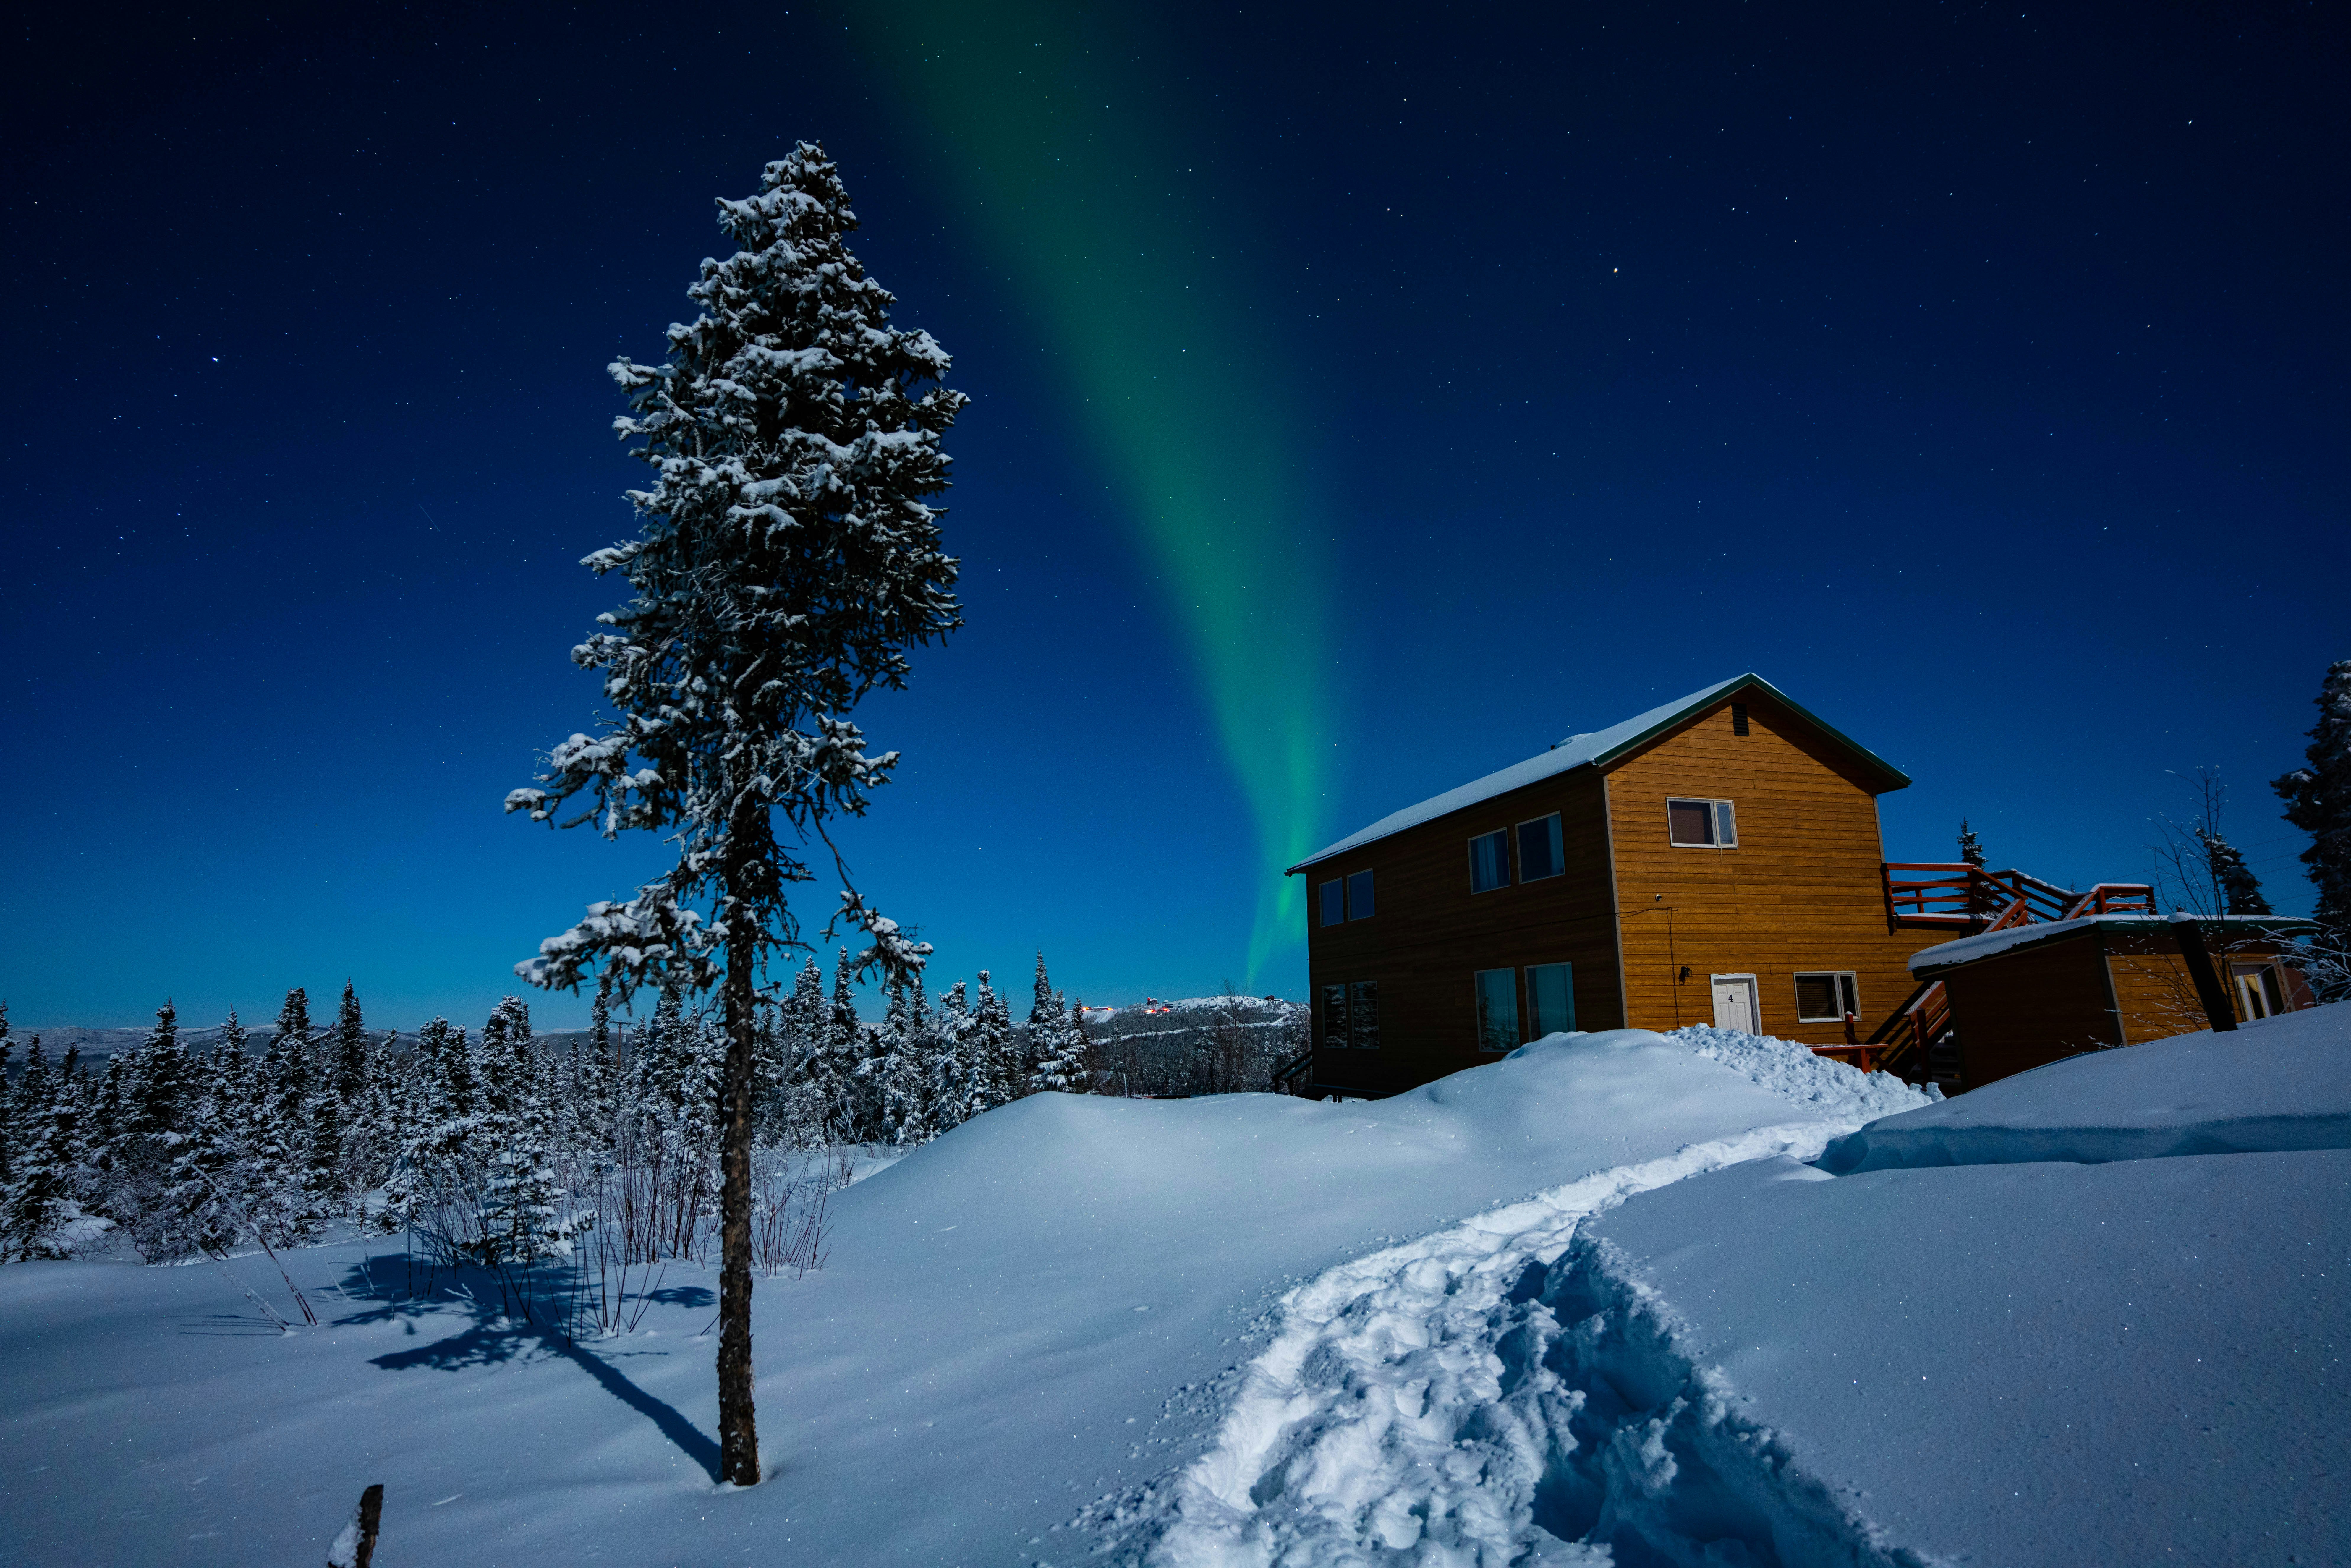
Frame your photos with something striking in the foreground – trees, or maybe a cool rock formation or cabin – as photos of just the lights can be pretty boring.
If you have a warm shelter nearby, avoid taking your camera inside with you, as condensation can form and lenses get foggy. Take the battery out of your camera and leave the camera outside on the tripod. At the end of the night, stick your camera directly into your zippered camera bag, allowing it to gradually warm up by the next morning.

Nicholas Wagner says that you shouldn't discouraged by cloudy weather early in the evening. "We were hit with a blizzard for most of the day, but around 1:30am, the sky cleared," Wagner said. "For the next 90 minutes, we were treated with the most brilliant aurora I’ve ever seen."
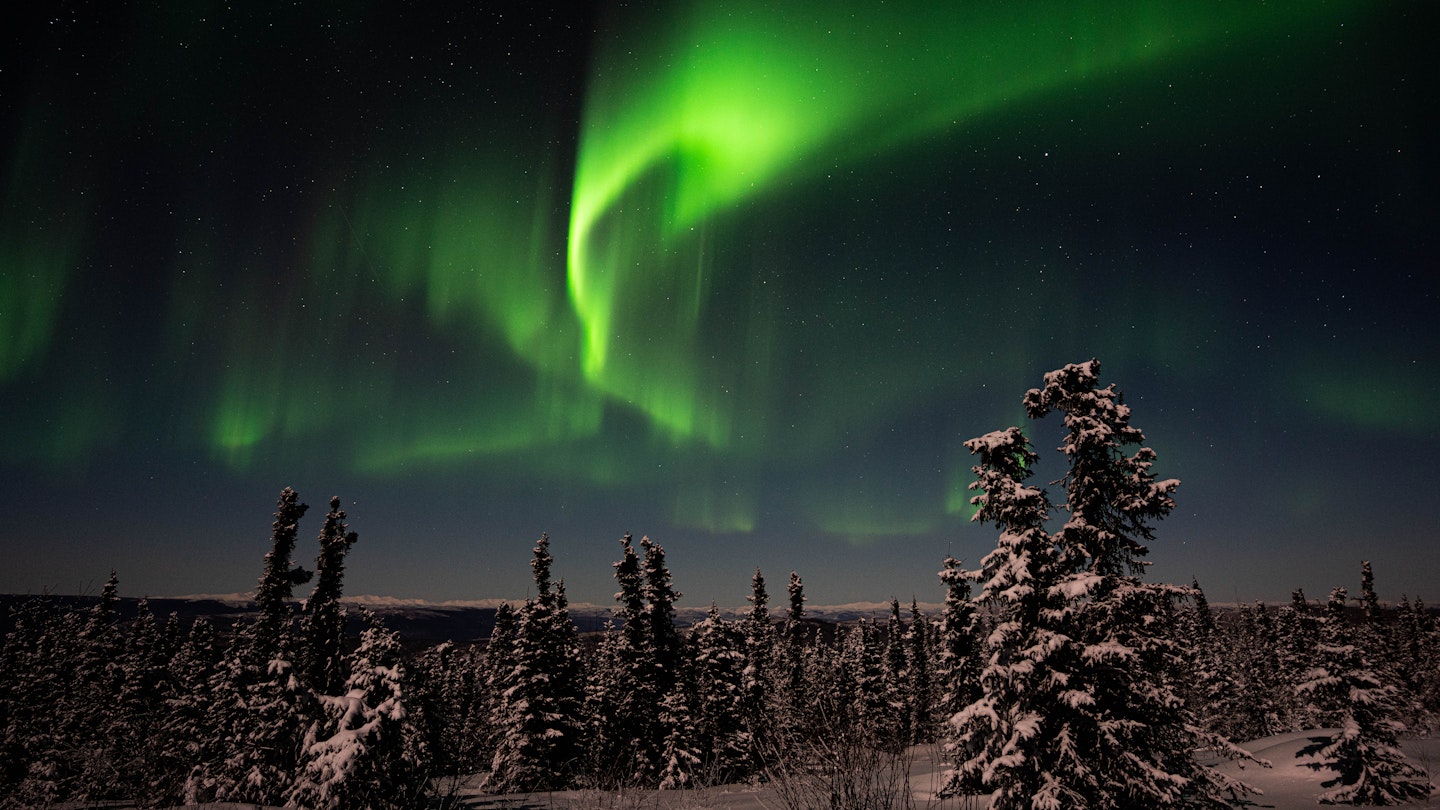
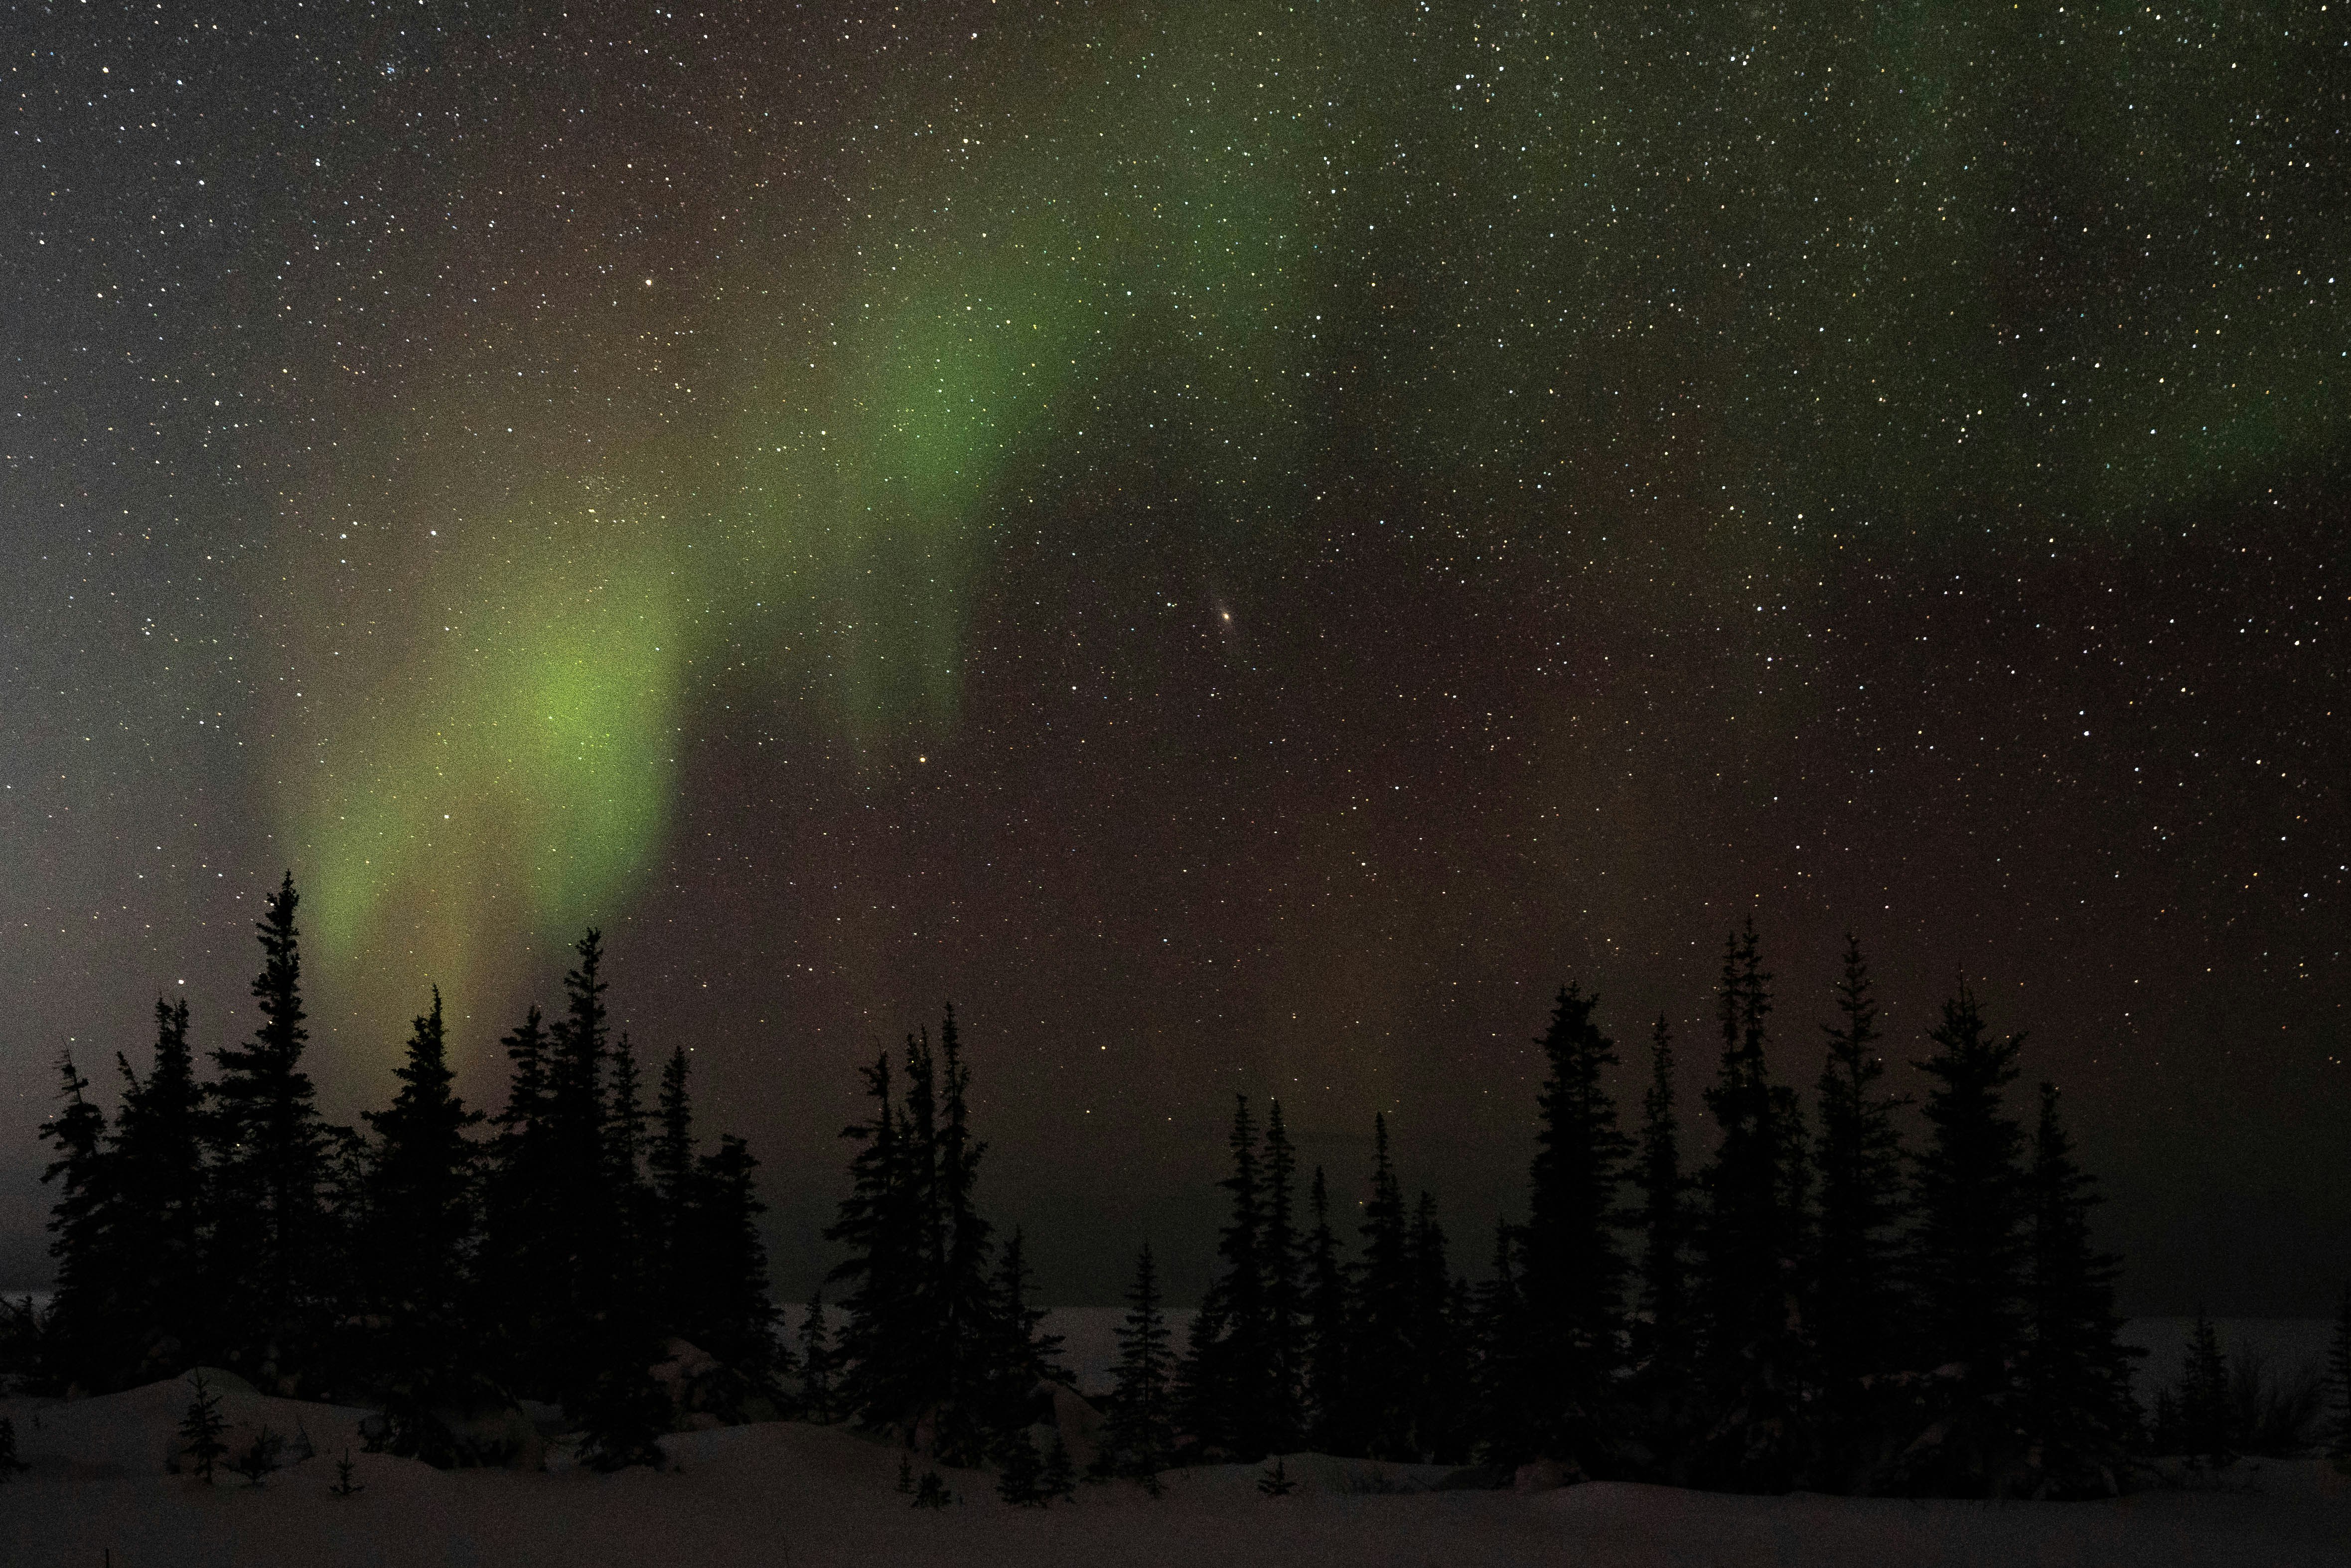
Be aware that, depending on the conditions, you may not see the brilliant green, dancing lights that you see in photos. Oddly enough, it depends on your age (younger people see green easier than older folks) and eyesight. Eddy Savage estimates his tour groups see green lights maybe half the time. I spent more than a week shooting the northern lights in Churchill and Fairbanks, and only saw green in the sky for maybe 10 minutes on one night. The rest of my trip I was shooting faded white lights that magically turned green when seen through my viewfinder.
One point that can’t be stressed enough – don’t expect your initial shots to come out looking like the professional photos you see on the internet. Photographing the northern lights can be difficult, and you’re going to make mistakes. Trying to frame your images while adjusting your camera settings in the dark – knowing that the lights can fade at any moment – is difficult even for the best shooters. Many of those incredible aurora photos are taken by local shooters or well-paid professionals who have the luxury of returning to a spot night after night until they get the exact shot they want.
And if you’re lucky enough to get one of those once-in-a-year, magnificent auroras, take a minute and just enjoy the beauty of the moment after getting your first round of photos. It truly is a magical experience, and one that shouldn’t be seen entirely from a camera viewfinder.
You might also like:
How and where to see the northern lights in 2020
5 cheap places to experience the northern lights
Chasing the northern lights in Norway